Making a mirror for a telescope
Are you looking for a hobby which will allow you to develop new skills, channel your inner Heath Robinson and lead to a useful product, maybe saving you money as well? If the answer is Yes, then making your own telescope mirror might be just the thing for you. All you will need is infinite patience, a keen eye for detail, hours of time and a forgiving family when you commandeer your hallway for optic-testing. John Price, our President and February speaker has all these qualities in abundance and gave us a fascinating introduction to the art/skill of mirror making.
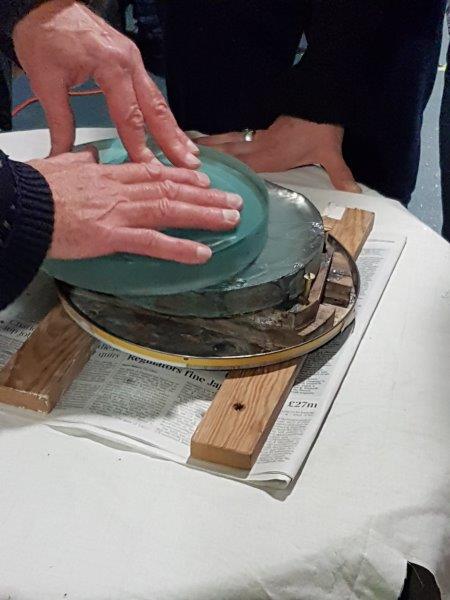
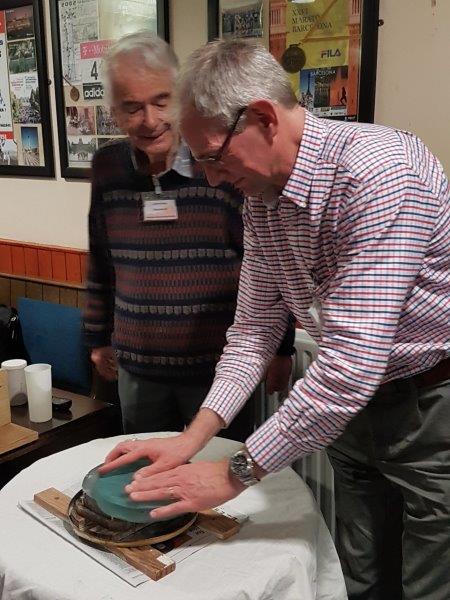
John’s original motivation back in the 1960s was financial. Telescopes were relatively expensive in those days, when a good annual salary was only £850. Making your own mirror and mounting it into a Newtonian reflector telescope was an appealing prospect. The process starts with two glass discs which are then formed by grinding followed by polishing with increasingly fine paste using a simple W pattern or circular pattern, taking the top block (which will become the mirror) slightly beyond the edge of the lower block (the “tool”) on each stroke. To our surprise, we were assured that this does lead to the tool becoming convex and the mirror becoming concave.


Now for the really skilful part : “figuring”. The grinding and polishing stages should produce a spherical mirror; however this is not what you want! Such a mirror would cause problems with spherical aberration where light from the different parts of the mirror is focussed at slightly different positions from the mirror. What you need is a mirror which is part of a paraboloid. To achieve this, you need to polish away small amounts of material from only parts of the spherical surface. This is called figuring and the skill is in knowing which parts to polish away and what polishing pattern to use in order to achieve this. In the case of a mirror 6” across, the departure from the sphere at the edges is just 11.4 microinches.
To achieve the required level of accuracy in your parabolic shape, you must now move into a careful sequence of testing, polishing, then testing again to check progress, polishing again – repeating that sequence many, many times, adapting your polishing pattern as you go to achieve your desired aim. The surface of the mirror must be smoothly parabolic with an accuracy of 1/10 of a wavelength of light – in other words, incredibly accurate!
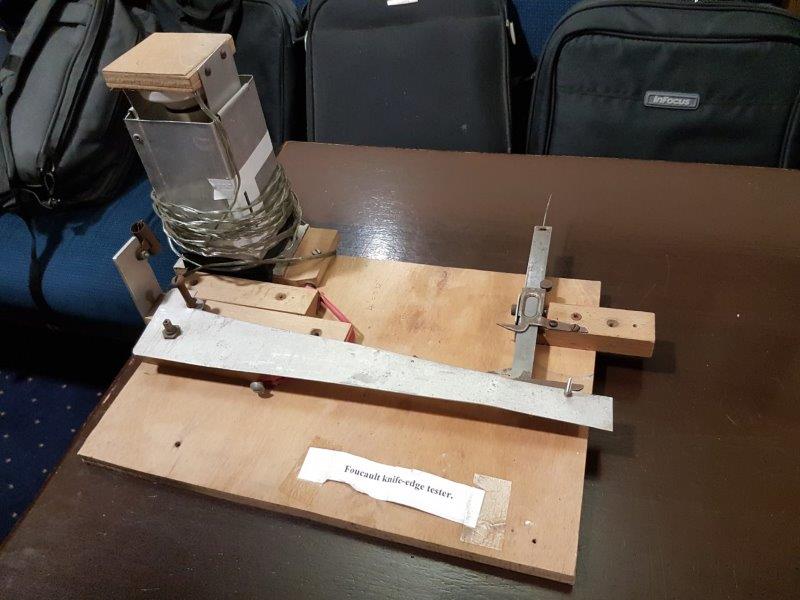
The way to test the shape of your mirror is to use a Foucault knife-edge tester. John’s did not at first glance look like a precision instrument, featuring as it did a large rubber band and a bulldog clip. Appearances can be deceptive though . The idea is to use the bulldog clip to hold a razor blade, serving as the knife-edge, which can be moved towards and away from the mirror such that it would block some of the reflected light. The various features of the design ensure that a movement of 0.14” in the knife edge position will be able to pick up a deviation on the mirror of 2.2 microinch, effectively providing a magnification of 65,000x.

You would first use the tester to see if the mirror as polished was indeed spherical, meaning you were ready to move onto the figuring stage. As you move the knife edge, you should see exactly half of the mirror illuminated because the razor blade would be blocking light from the other half. When the knife-edge is at the centre of curvature, the mirror will appear uniformly illuminated. If it isn’t, then it is back to the grinding and polishing. Using the Foucault knife-edge tester during the figuring stage when you are aiming to turn your spherical mirror into a parabolic mirror is more complicated and involves using a special mask to check different zones of the mirror. Again, there needs to be many iterations of the polishing – testing sequence. I said at the beginning that you would need to have infinite patience; now you must know what I meant!
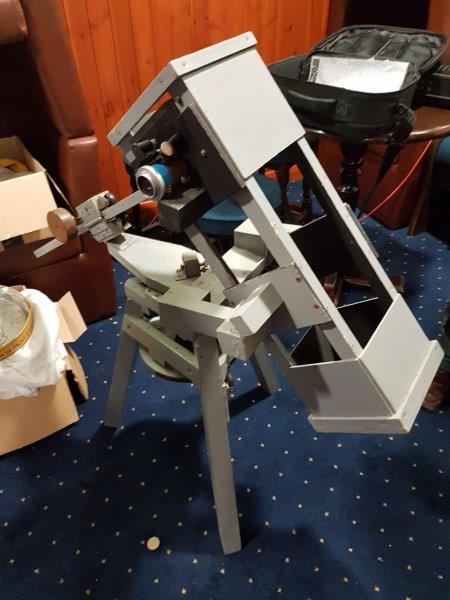
When you are finally satisfied with the profile of your mirror, you need to get it coated with aluminium. This is not a DIY job but must be done by a professional. Now all you need to do (all you need to do!) is make the rest of the telescope and you are good to go.

Image Credit FAS member John Price
Top tips from John
• It is best to start by making a 6” mirror for a F8 telescope
• Never leave the tool and mirror with paste in between. When you come back, they will in effect be welded together!
• Accept that you will never achieve 100% perfection.
And a final word of warning. One of our members began making a mirror under John’s tuition in 1974. He has yet to progress beyond the grinding phase.
John is well-respected throughout the society for his enthusiasm for astronomy and his wide knowledge on all aspects of it. I for one and probably most of us at the talk are now totally in awe of him!
Talk given by FAS member John Price
Post written by Katherine Rusbridge
Feb 2017
