Geof Lewis shares his top tips on DSLR astrophotography
I am always amazed by the images of the night sky captured by society members. They seem to me to be every bit as good as those from the Hubble Telescope. Indeed when we include a display of them at our public events, the first thing I say about them to a visitor is that they are taken by amateurs, often from their back garden. This always produces a suitably awe-struck response.
Geof Lewis is one of our amateur experts and he gave a talk to our October meeting about using a DSLR camera for astrophotography . (DSLR stands for digital single lens reflex and such a camera would be used by a camera enthusiast for “normal” photography. It does not count as specialised astronomy equipment).
Geof’s talk was full of tips and advice on how to capture and process images, and I do mean “full of”. His first pieces of advice were however counter-intuitive, to put it mildly. You need to start by taking a picture with the lens cap on and then take a picture of a uniformly bright, featureless object such as a clear blue sky or a light box. This sounded daft but he quickly explained that this is to see if the camera has got any “hot pixels” which fire even when there is no light reaching them and then you need to see if the optics of your camera and/or telescope produces any irregularities in an image which you expect to be uniform. Neither effect is a major problem; you just need to know what is going on so that you can allow for this at the processing stage. It does though show the lengths you need to go to in order to achieve a great image.
Geof encouraged us not to dismiss simple techniques. The simplest is just to mount the camera on a tripod. A long exposure can give a pleasing image of star trails which are the arcs the stars describe across the night sky because of the rotation of the Earth. Mind you, in this area of England, you are just as likely to have an aeroplane flying across the field of view.
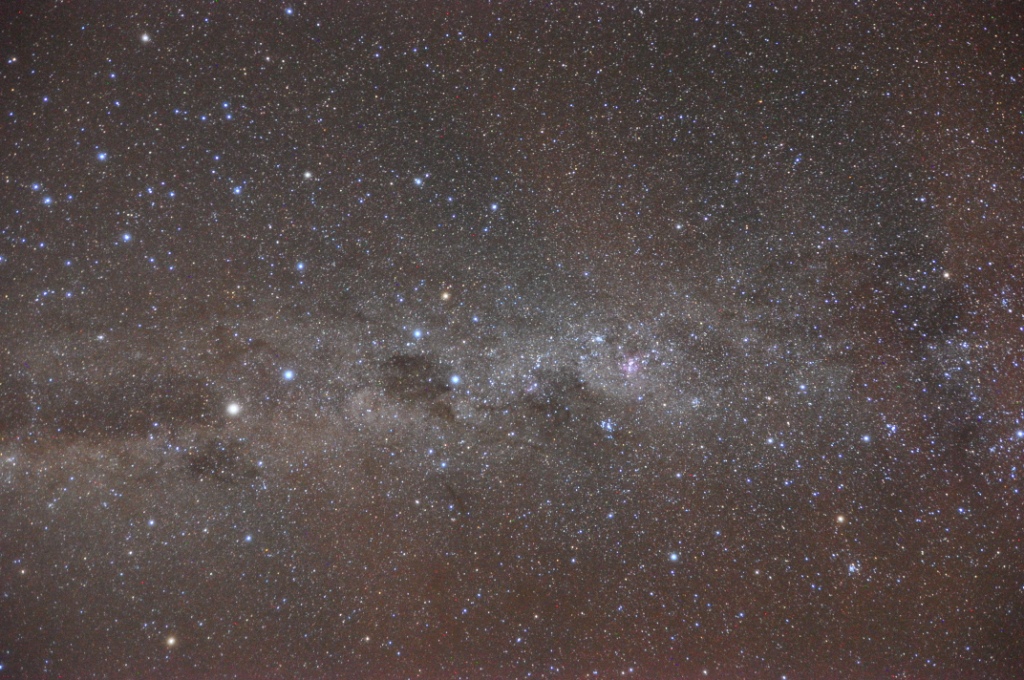
If you don’t want the star trail effect, then you will need to mount your camera on some sort of motorised drive so that the camera will move to stay on your target object. Again, Geof suggested this does not have to be that complicated. If you have a telescope with a tracking feature, then you can attach your camera on to it, piggyback-style. You are then still only having to worry about the optics of your camera and can begin to be more ambitious in the targets you select. The widefield image below was taken in this configuration and it is of the Milky Way as seen from New Zealand, with the 4 stars of the Southern Cross, roughly in the centre of the image.

Image credit : Geof Lewis
The ultimate set- up is of course to replace the eyepiece of your telescope with your camera so that you have all the light capturing power of the telescope to work with.
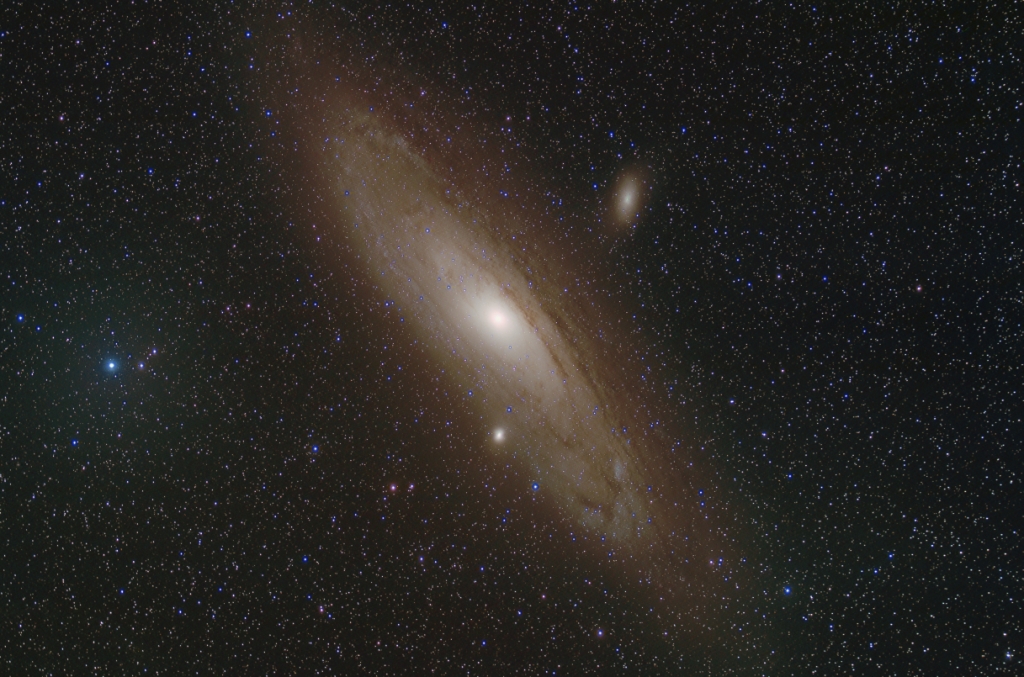
The key thing for a novice to realise is that you need to take many images of one object. For example, Geof showed us a lovely image of the Andromeda galaxy which was composed of 42 images each taken over 4 minutes (with tracking, of course!). The images are then stacked using a computer program which in effect superimposes all these images, making faint details stand out and making random noise, which is very likely to vary from frame to frame, much less of an issue.

Image credit : Geof Lewis
Mmm, 42 images of 4 minutes each. That sounds like a long time to be standing in the garden on a clear winter’s night -and some of Geof’s exposures were even longer. But help is at hand in the form of software which can be set to control your camera. You do a bit of programming and then retreat back inside while the system does the rest. There is also software to solve the fairly fundamental problem of aligning your camera with the target you want to image; Geof summed this up by saying “it is hard to find things you can’t see [because they are too faint]”. With the right technology/software nowadays, you can select what you want to image and the system aligns for you.
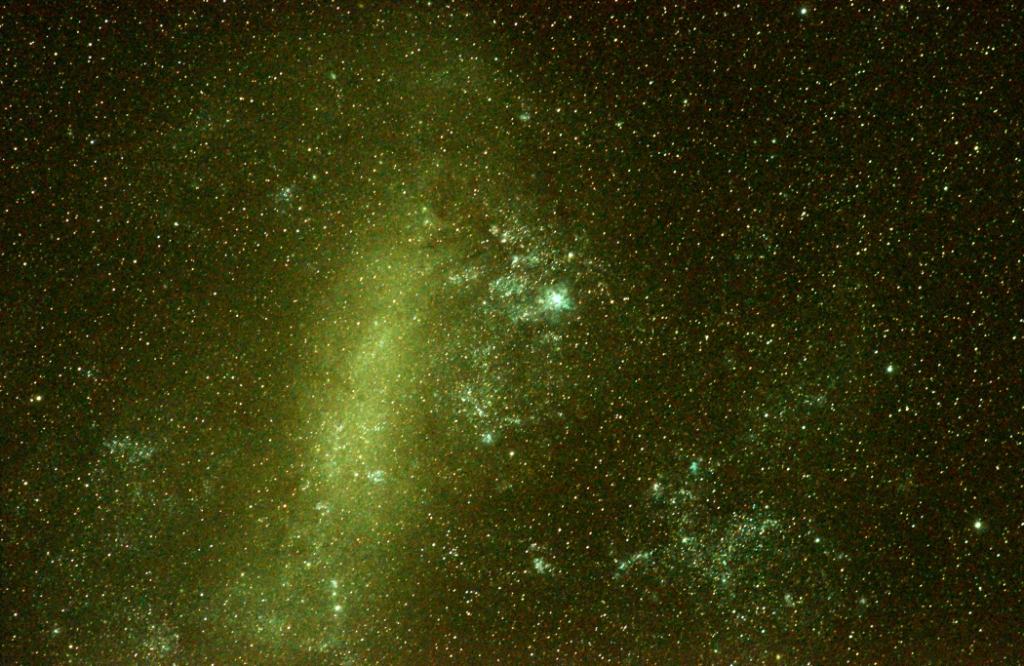
This technique of stacking images means that you can produce a great final effect even using your DSLR camera on a static tripod (in other words with no tracking). This image is of the Tarantula region of the Large Magellanic Cloud. It started off life as 12 images of 6 second exposure each using the extremely sensitive IS0 setting of 6400. If Geof had tried the same total exposure time in a single image, then everything would have moved relative to the camera during the shot.

Image credit : Geof Lewis
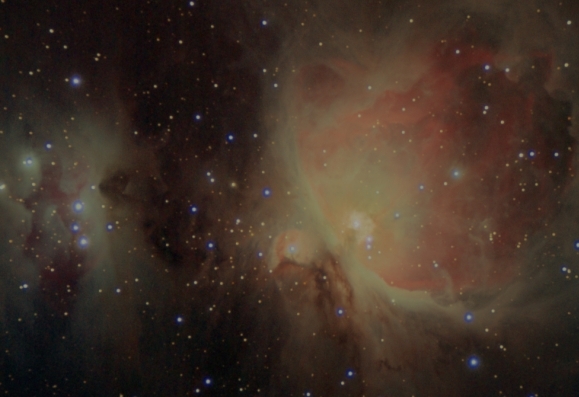
The image I liked best was in effect a composite of the Orion Nebula, one of my favourite objects of the night sky. He took 35 images for 3 minutes each to show up all the fantastic nebulosity but this totally overexposed the famous Trapezium area, so he also took 35 more images of 5 seconds each to show them more clearly. The combined effect after stacking showed everything you wanted to see in the nebula – lovely! Nobody is trying to pretend that the final image is what you see when you look directly through a telescope . The important point is that it is showing what is really there. To quote Geof again “the processing isn’t cheating, it is revealing what the camera has captured”.

Image credit : Geof Lewis
Many thanks Geof.
And one final point if this all sounds too complicated. Geof only began this hobby about 2 years ago. Now that is awe-inspiring!
Talk given by FAS member Geof Lewis
Post written by Katherine Rusbridge
Oct 2014
